


Made by Me: Drawing, Stickers, T-Shirts, Animation, Objects & More
Made by Me: Turn Your Ideas into Real Things – Stickers, T-Shirts, Objects & More
July 14, 2025 - July 18, 2025
Learn how we started at Make Art PDX, and see how ideas can grow when you build them with a story. In this hands-on workshop, artists will take a creative idea all the way from sketch to shelf—making something real, then learning how to package, promote, and share it. This class is perfect for kids who love to make things, have big ideas, and want to see their work come to life as something giftable or sellable.
1. Create the Product
Start with an idea—like jewelry, character pins, mini sculptures, or a cool t-shirt design—and bring it to life using your favorite materials and tools. You’ll sketch it, test colors, and build a final version ready to share.
Examples of what you can make:
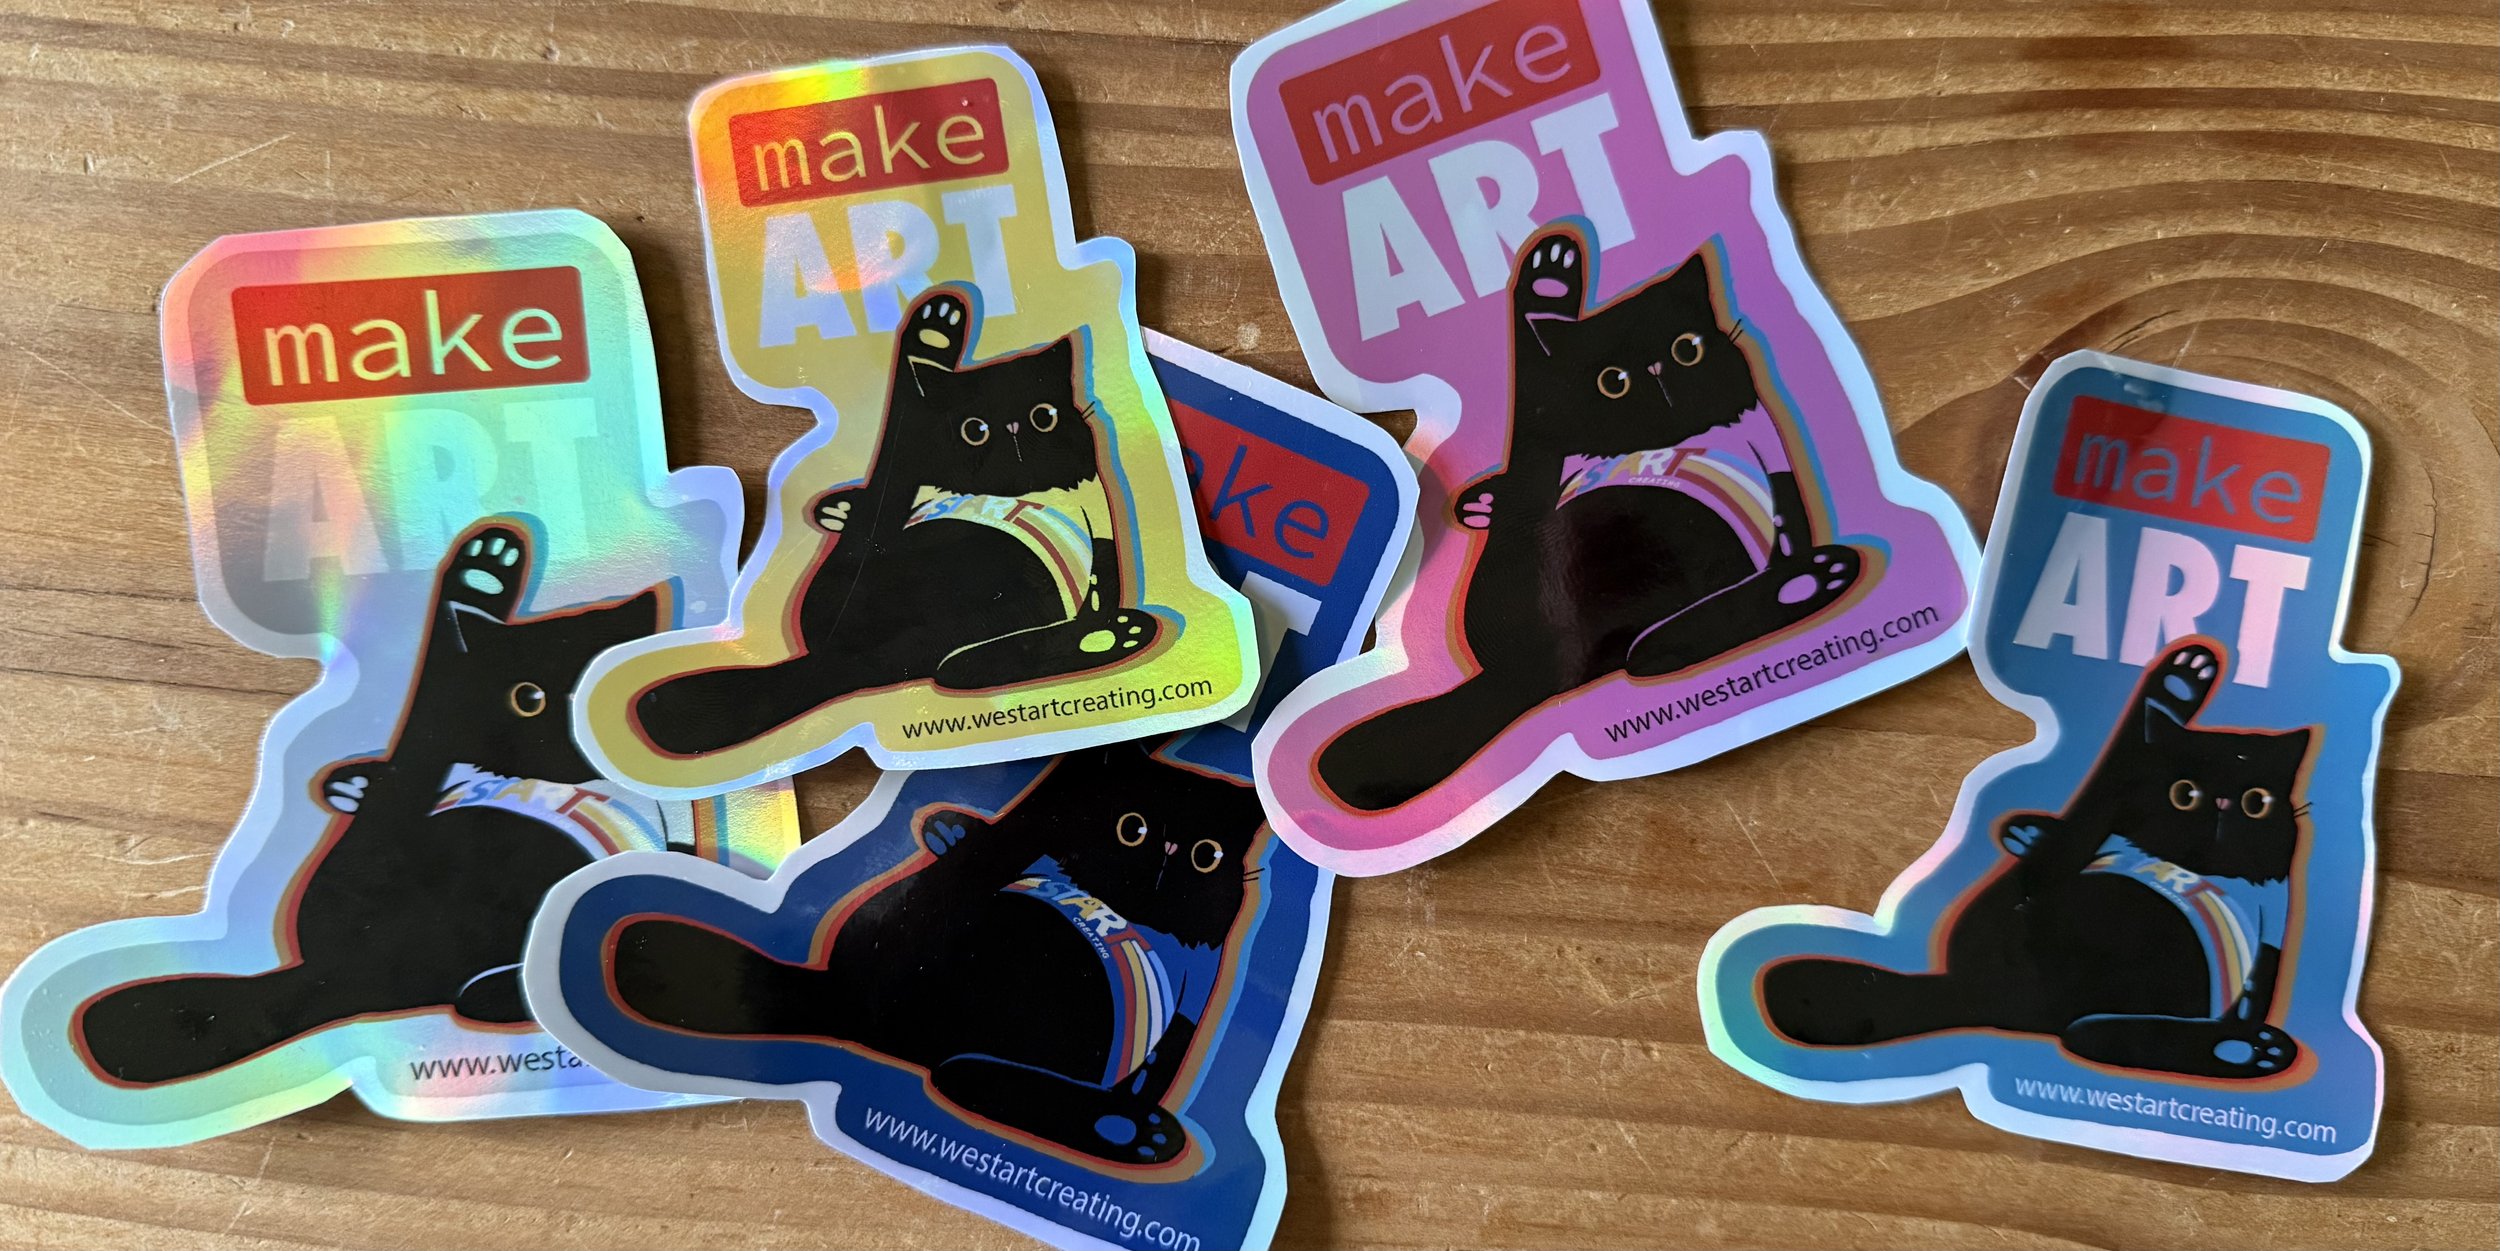
Stickers & vinyl decals (cut with Cricut)
Heat-transfer designs for tote bags or t-shirts
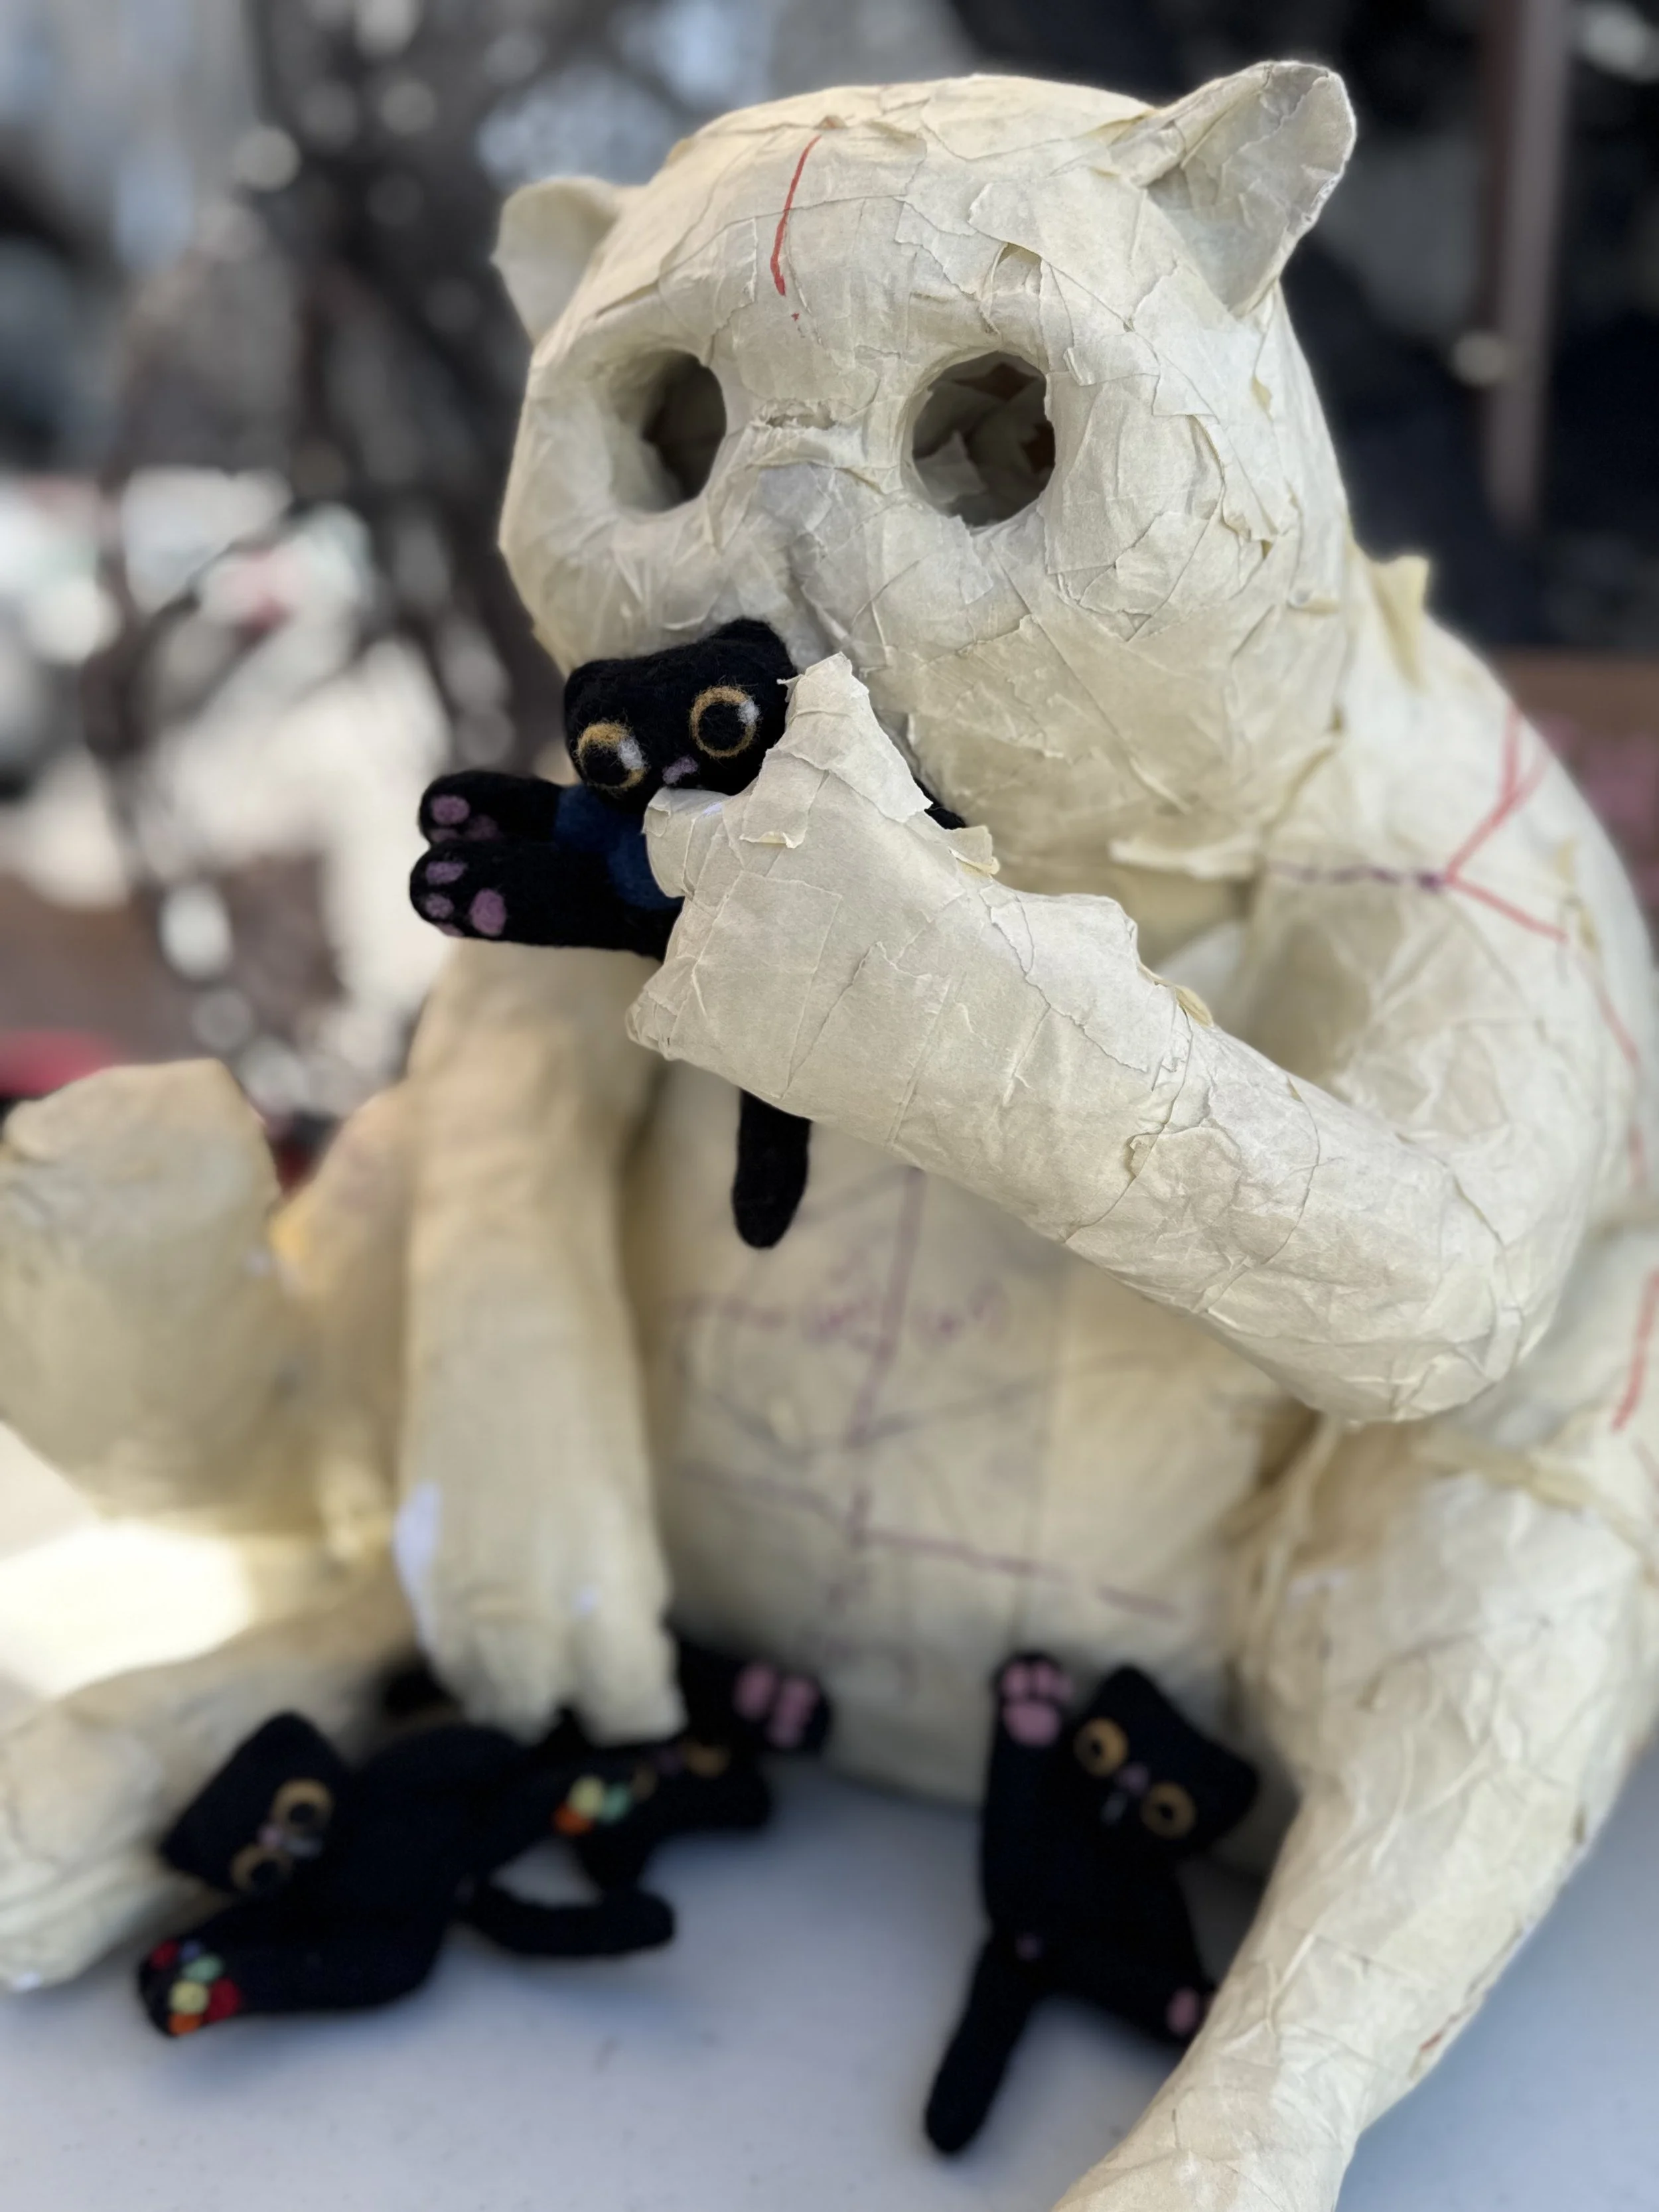
Needle-felted mini figures or plushies
Air-dry clay sculptures or jewelry
Limited-run drawings (signed, numbered, and framed)
Paintings or illustrations (for framing or gifting)
Shrink dink charms, keychains & pins
Custom buttons, magnets, or keychains
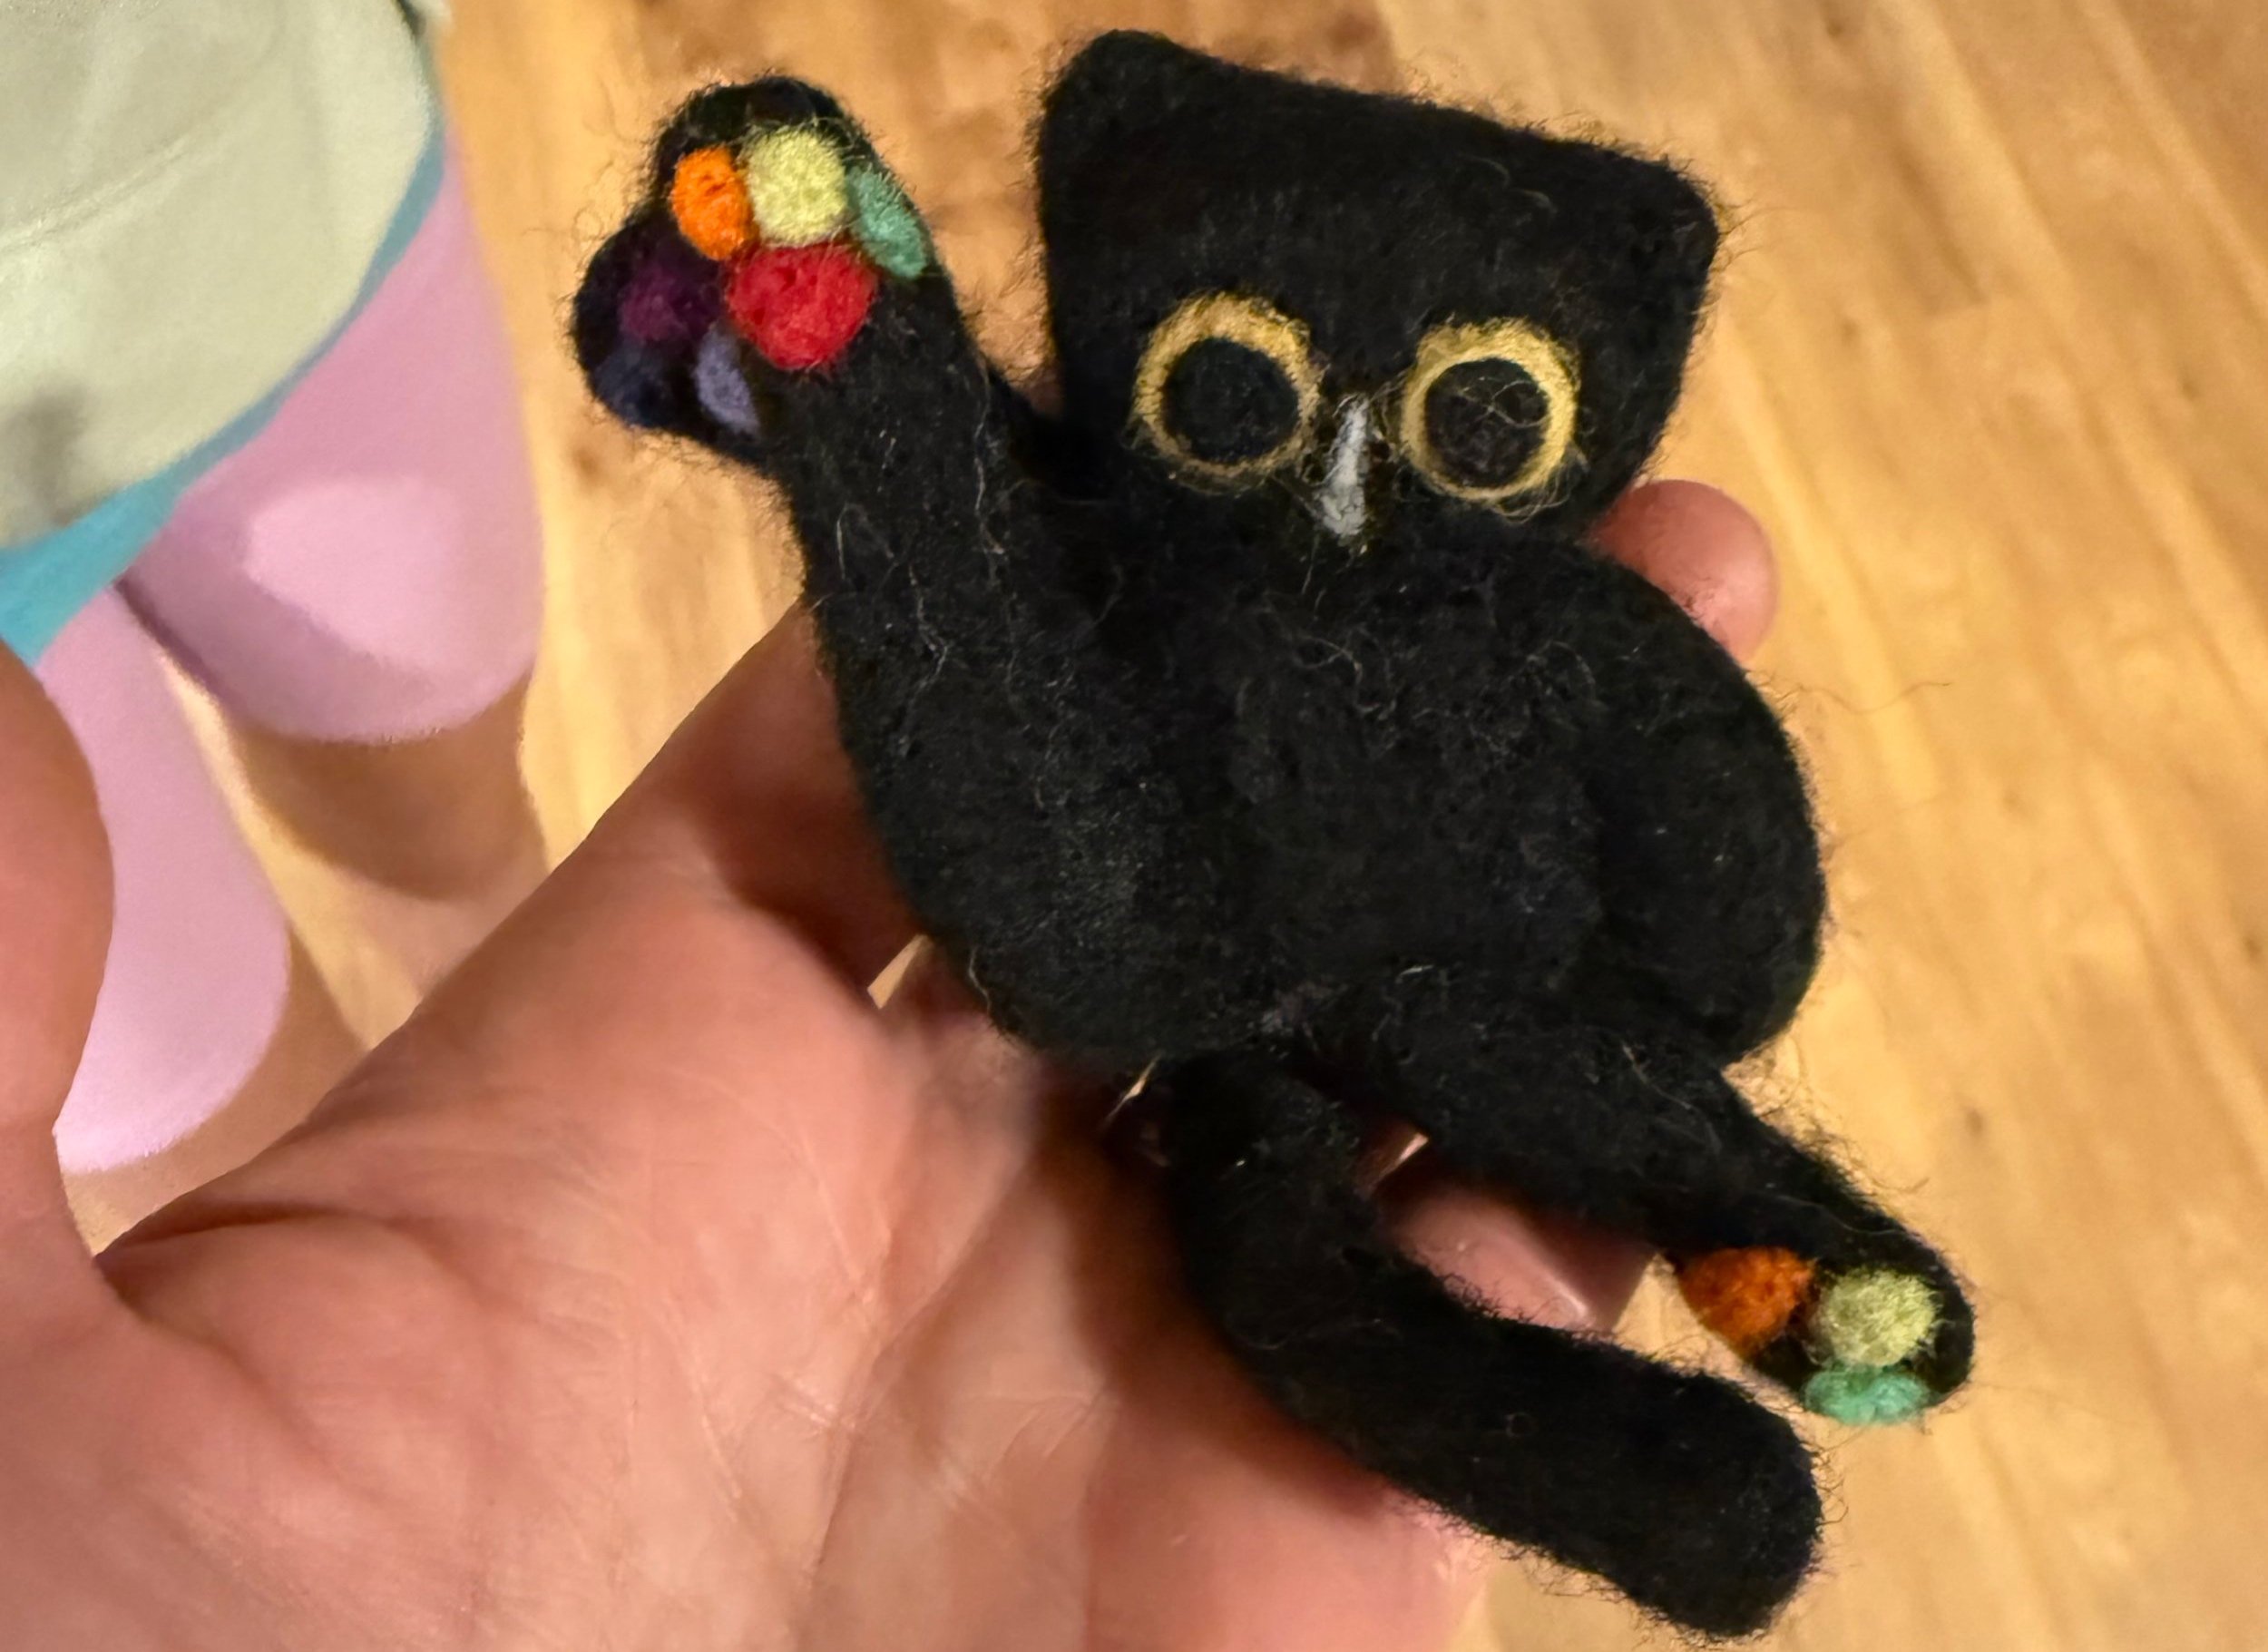
Needle point done by: Nina, inspired by our mascot Louie

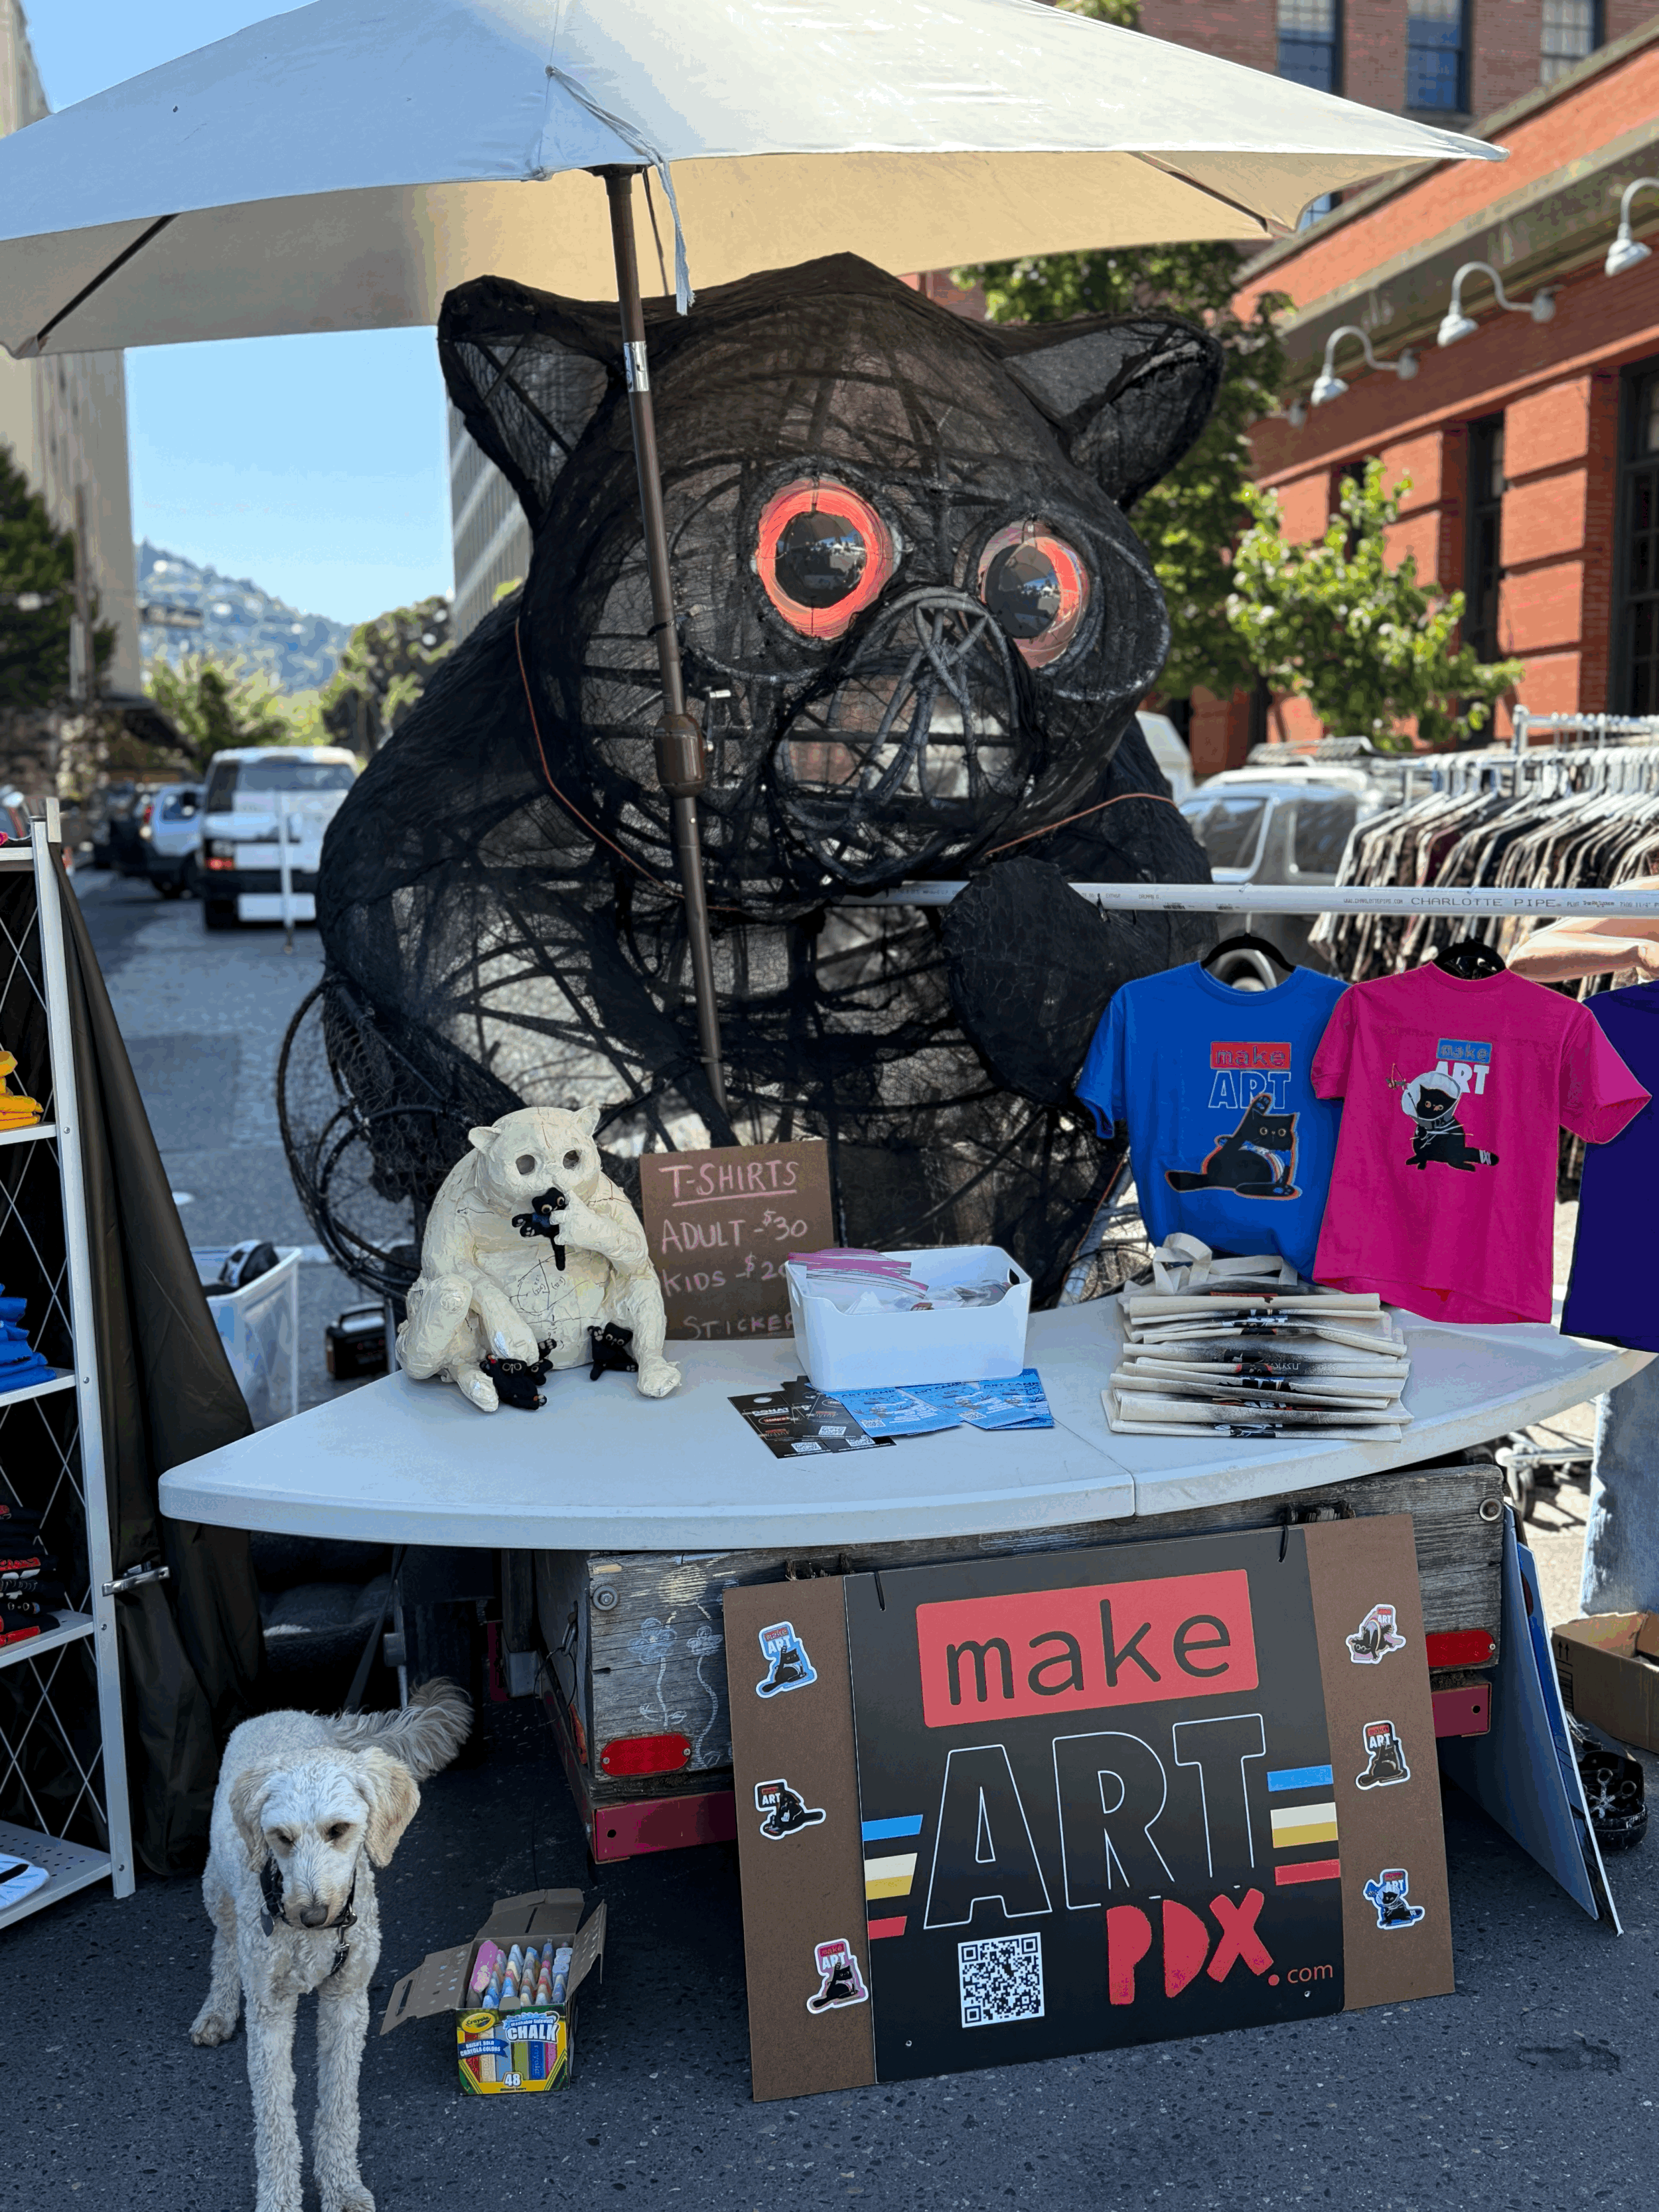
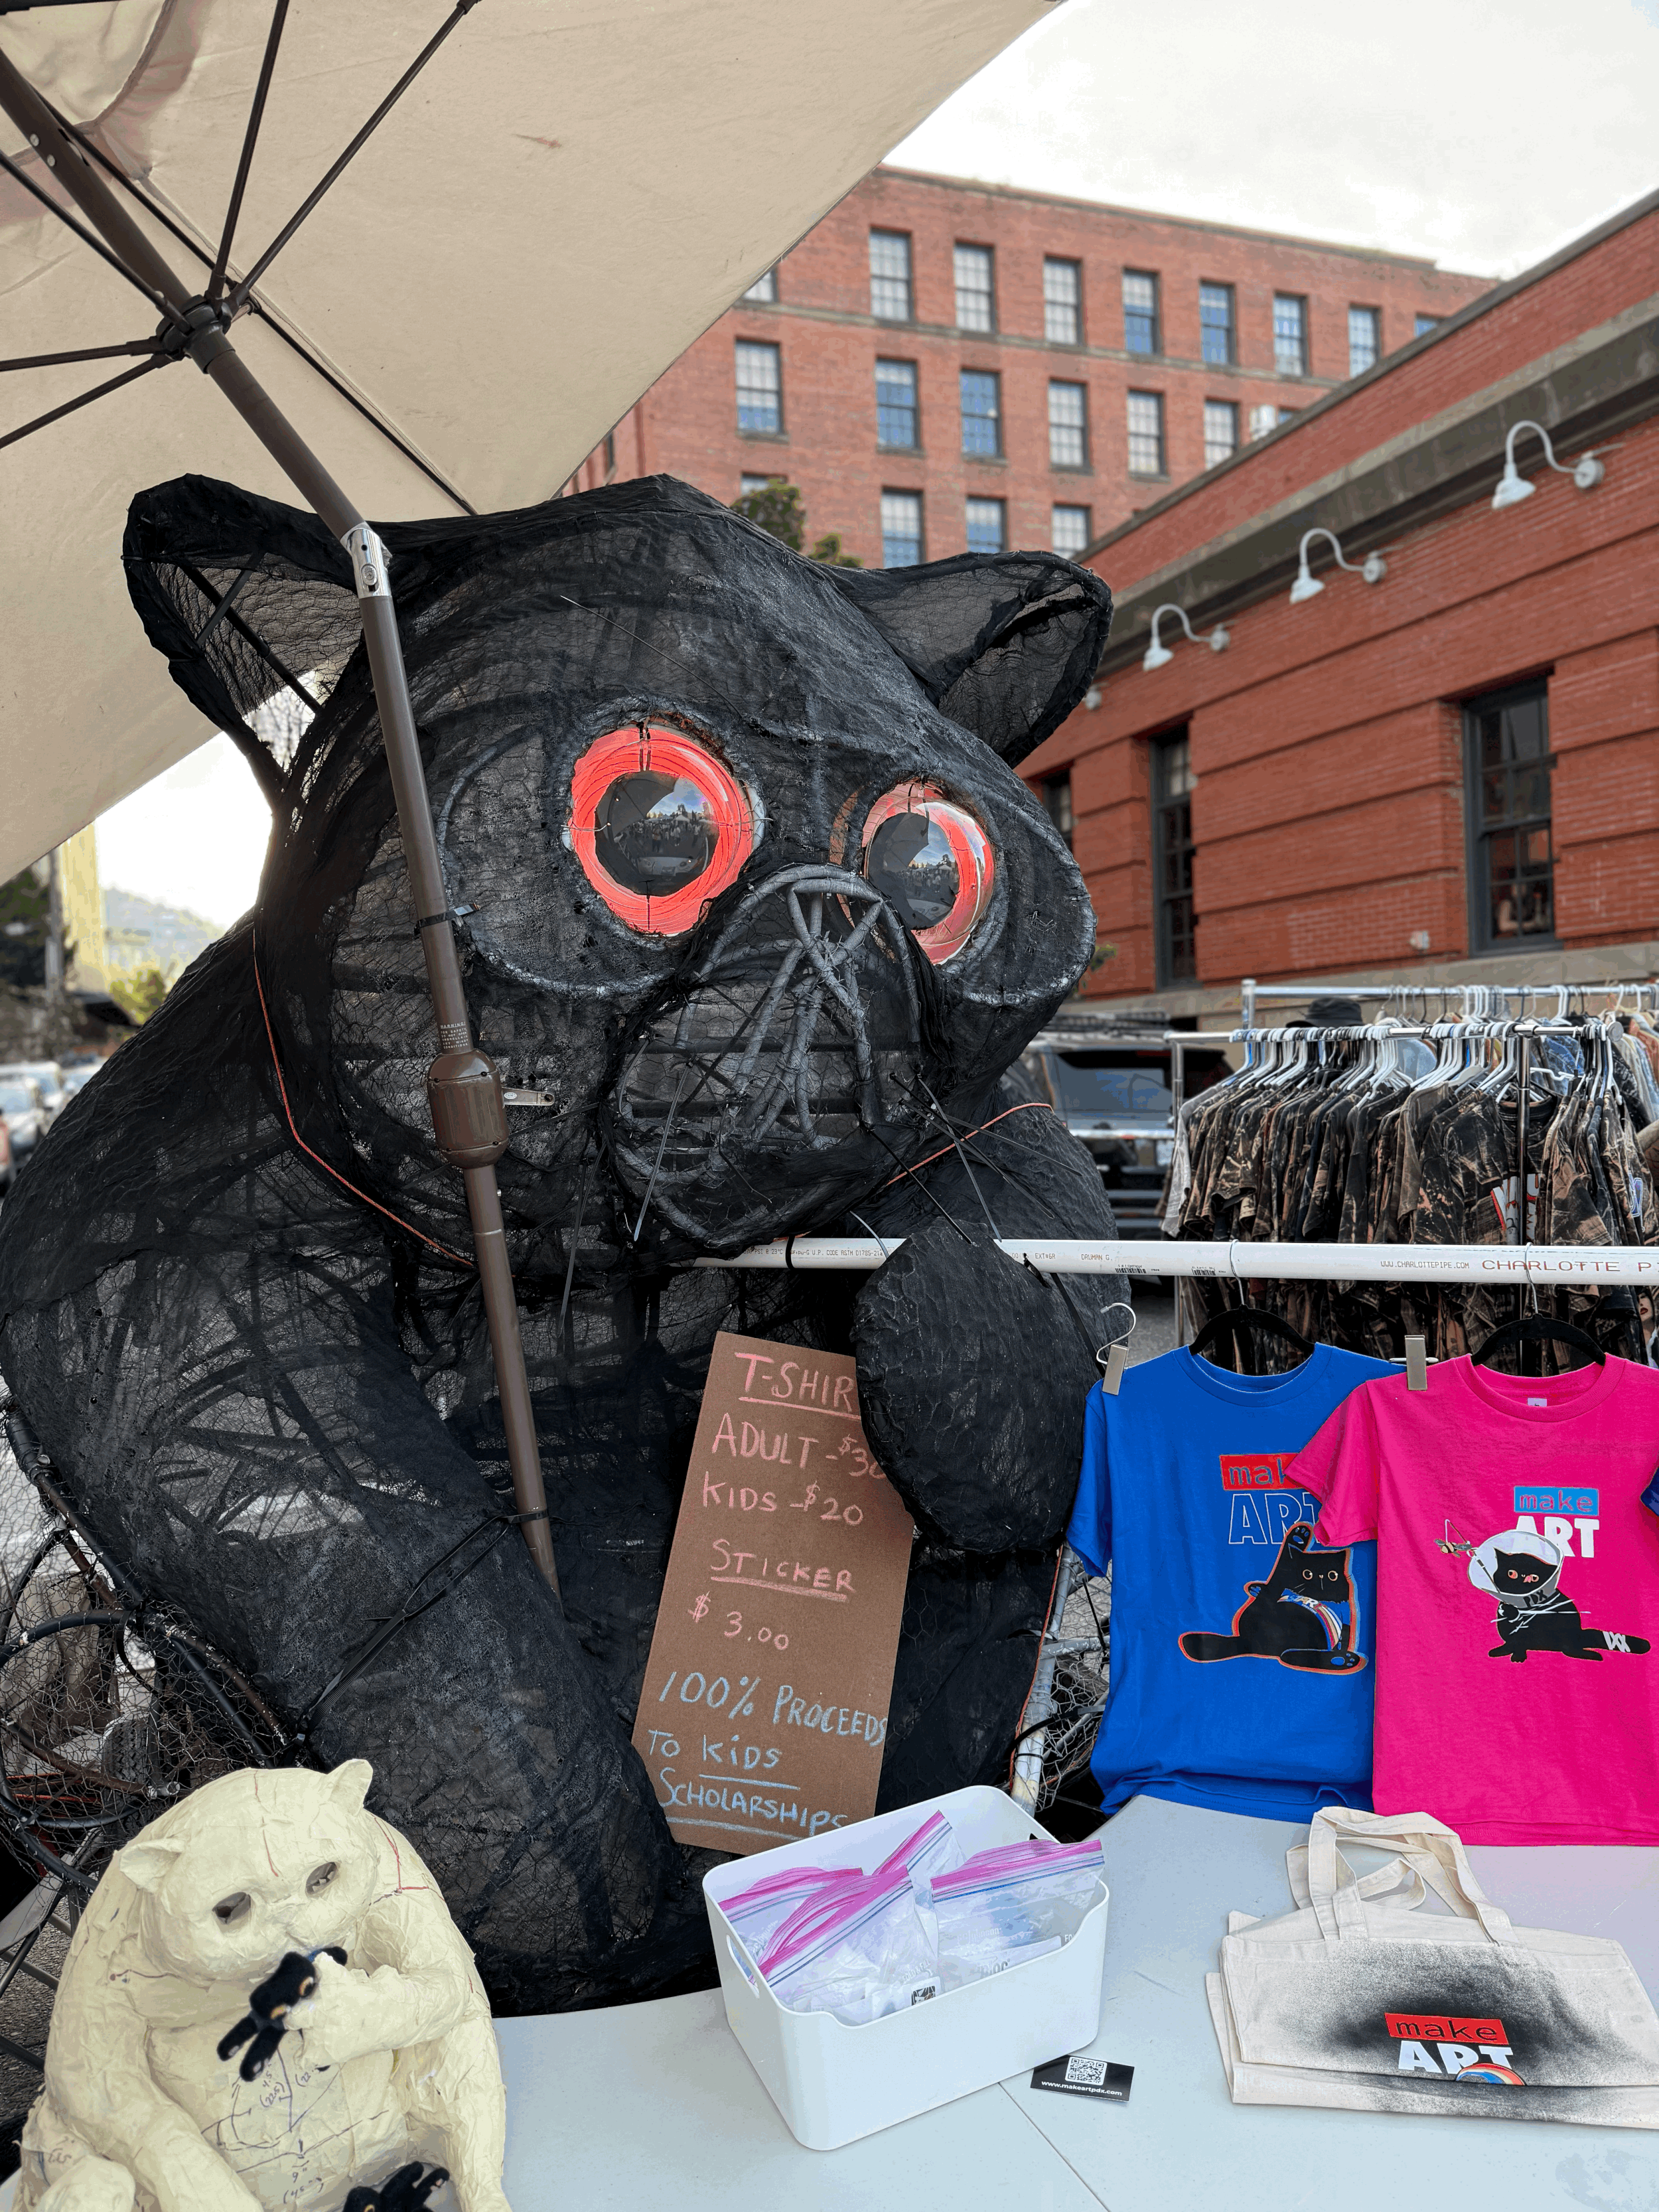
Louie the mascot and the sticker product
2. Record & Edit the Process
Students will document their creative journey by:
Using overhead cameras or phones to record their work
Learning basic editing tools (CapCut, iMovie) to make fun time-lapse and behind-the-scenes clips
Creating a short promo video showing their process, product, and personality
Collaborating as a group to make a class video that captures all the creativity, teamwork, and fun
This teaches not just how to make—but how to show what you made in a professional, exciting way.
3. Package It Up
Packaging, bag
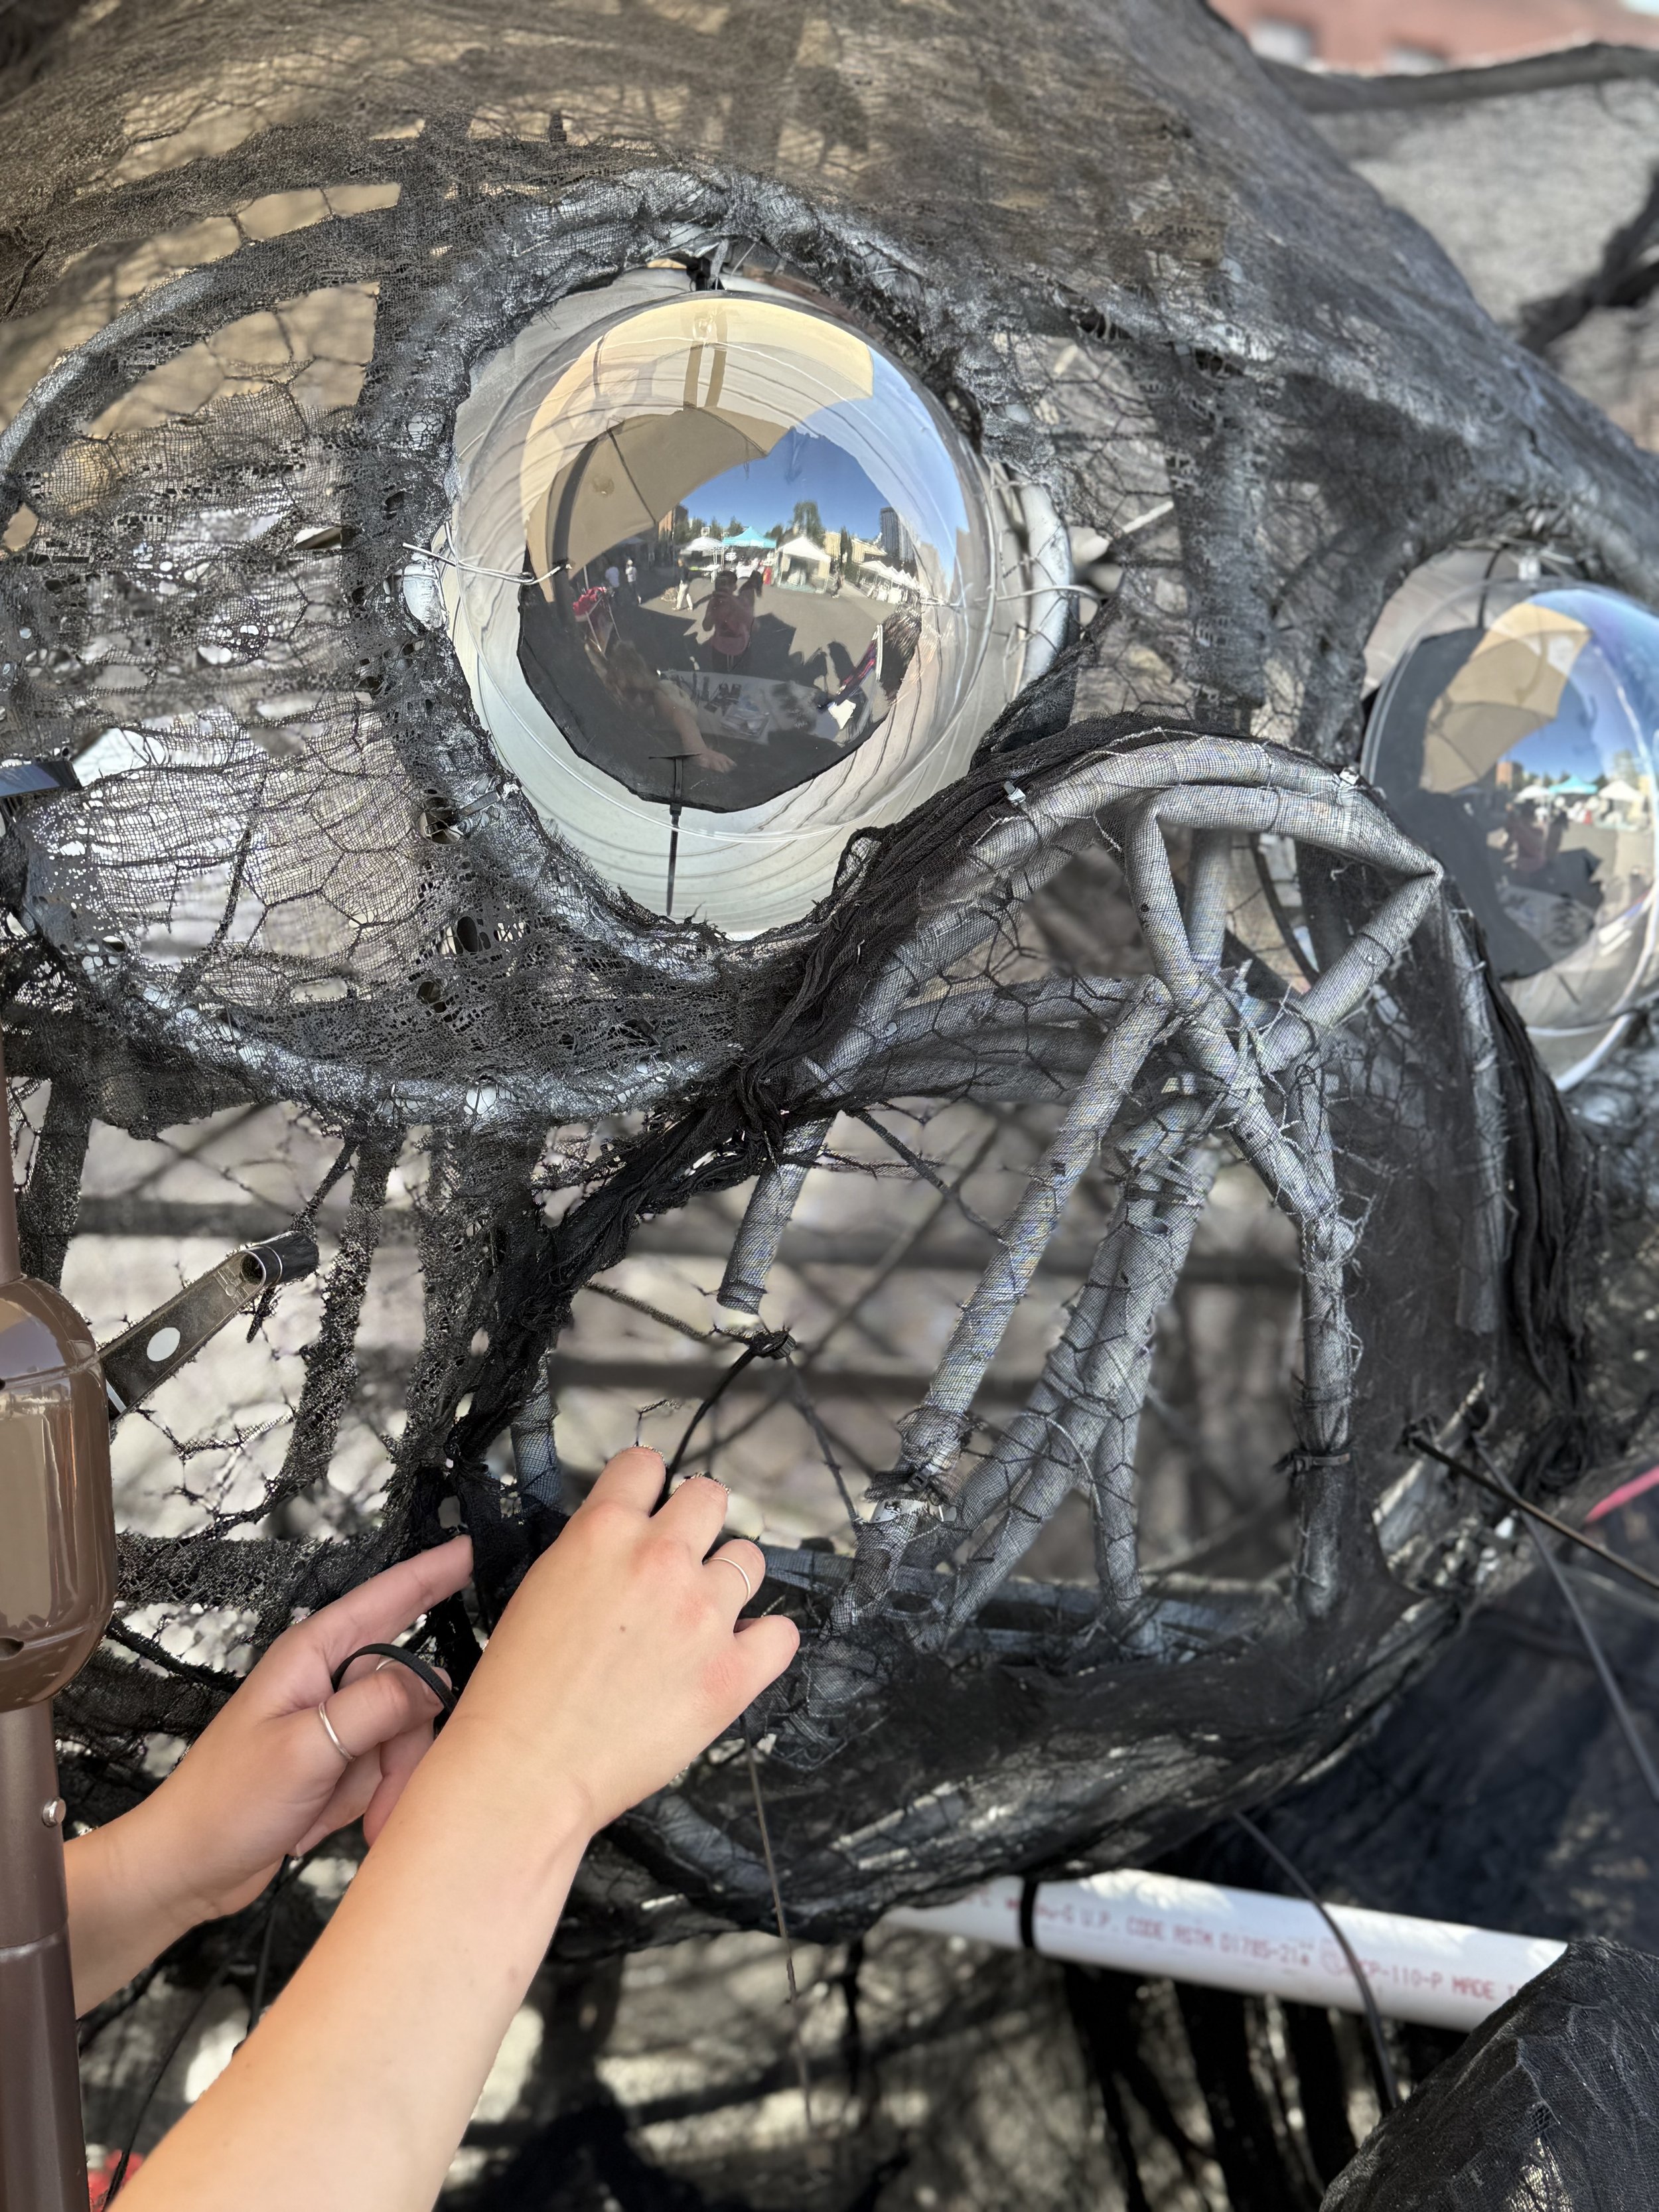
Creative marketing a 7’ cat
Once the product is made, we’ll make it look amazing by designing:
A small box, tag, or backing card
A simple logo, and drawn or on procreate
Add special touches like thank-you cards, tissue, tape, or sticker seals
Create description cards and name your business
This teaches how packaging helps tell the story of your product and makes it ready to give or sell.
4. Market & Share
Take clear product photos
Write a one-line mission for your idea
Practice a 30-second pitch to explain what you made, why, and who it’s for
Wrap up the week with a fun event where friends and family can explore each student’s setup
